Well Editor
Introduction to building wells and explanation of building models.
Using the Well Editor
Survey Well
For survey wells you can create a well line by line by adding new lines to the table and filling in information on measured depth, inclination and azimuth.
NOTE!
- The first line in the table is set to the water depth by default.
- To change units select your preferred unit in the top row of the table.
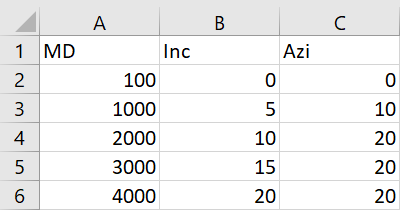
To import a survey listing press the table settings in the top left corner of the table and select Quick paste from clipboard.
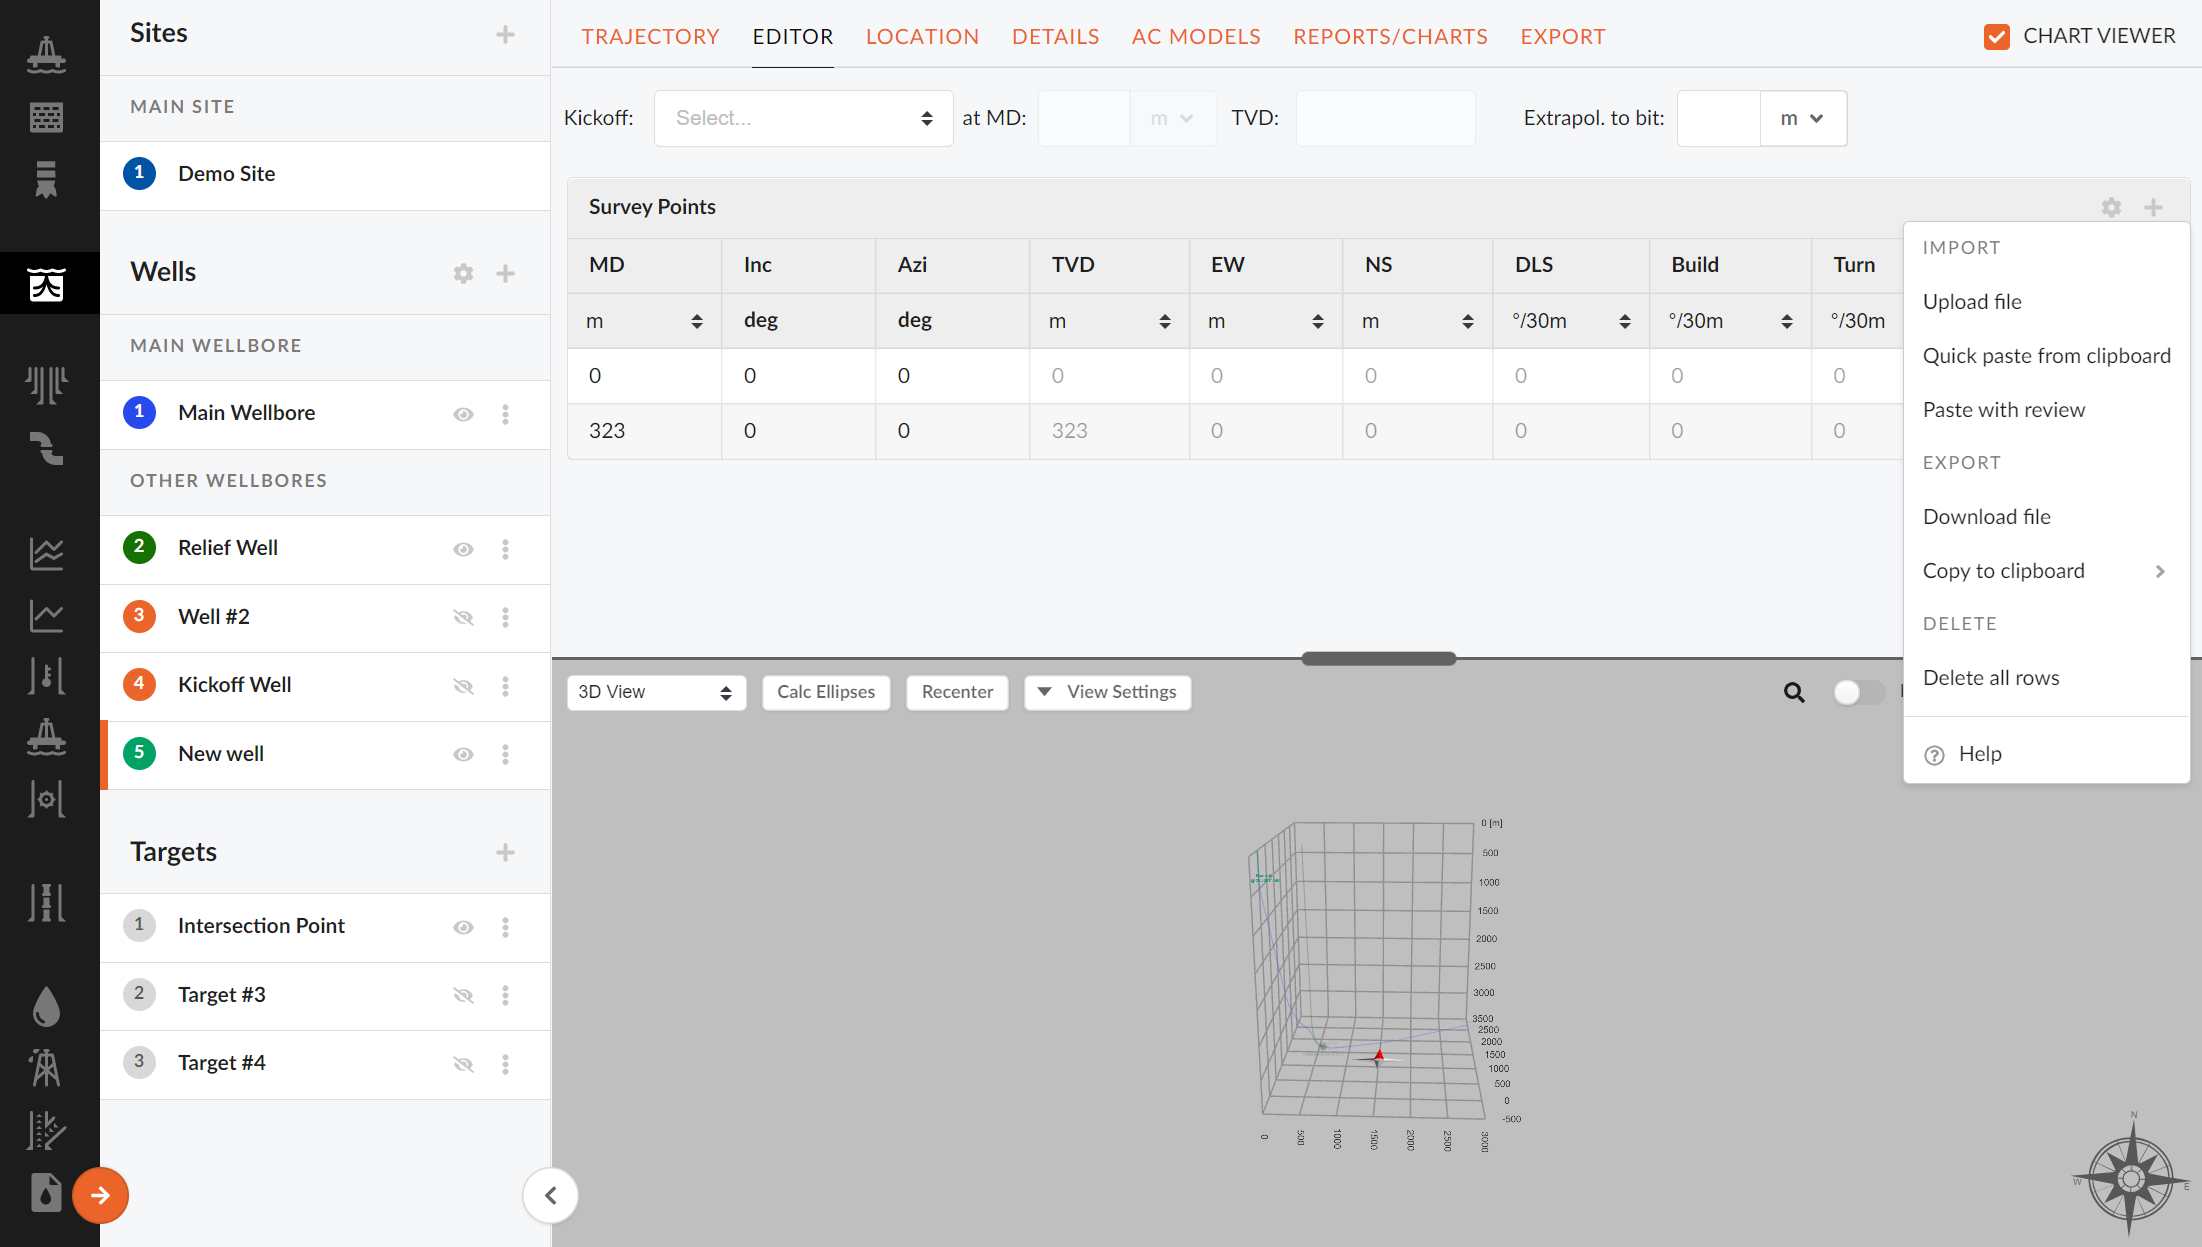
In the bottom of the Import window you will find a "(?) Help" button. This is a guide to what format the imported survey listing needs. Select your unit in the table header and paste numbers only for depth (MD), Inc, and Azi as shown in the figure above.
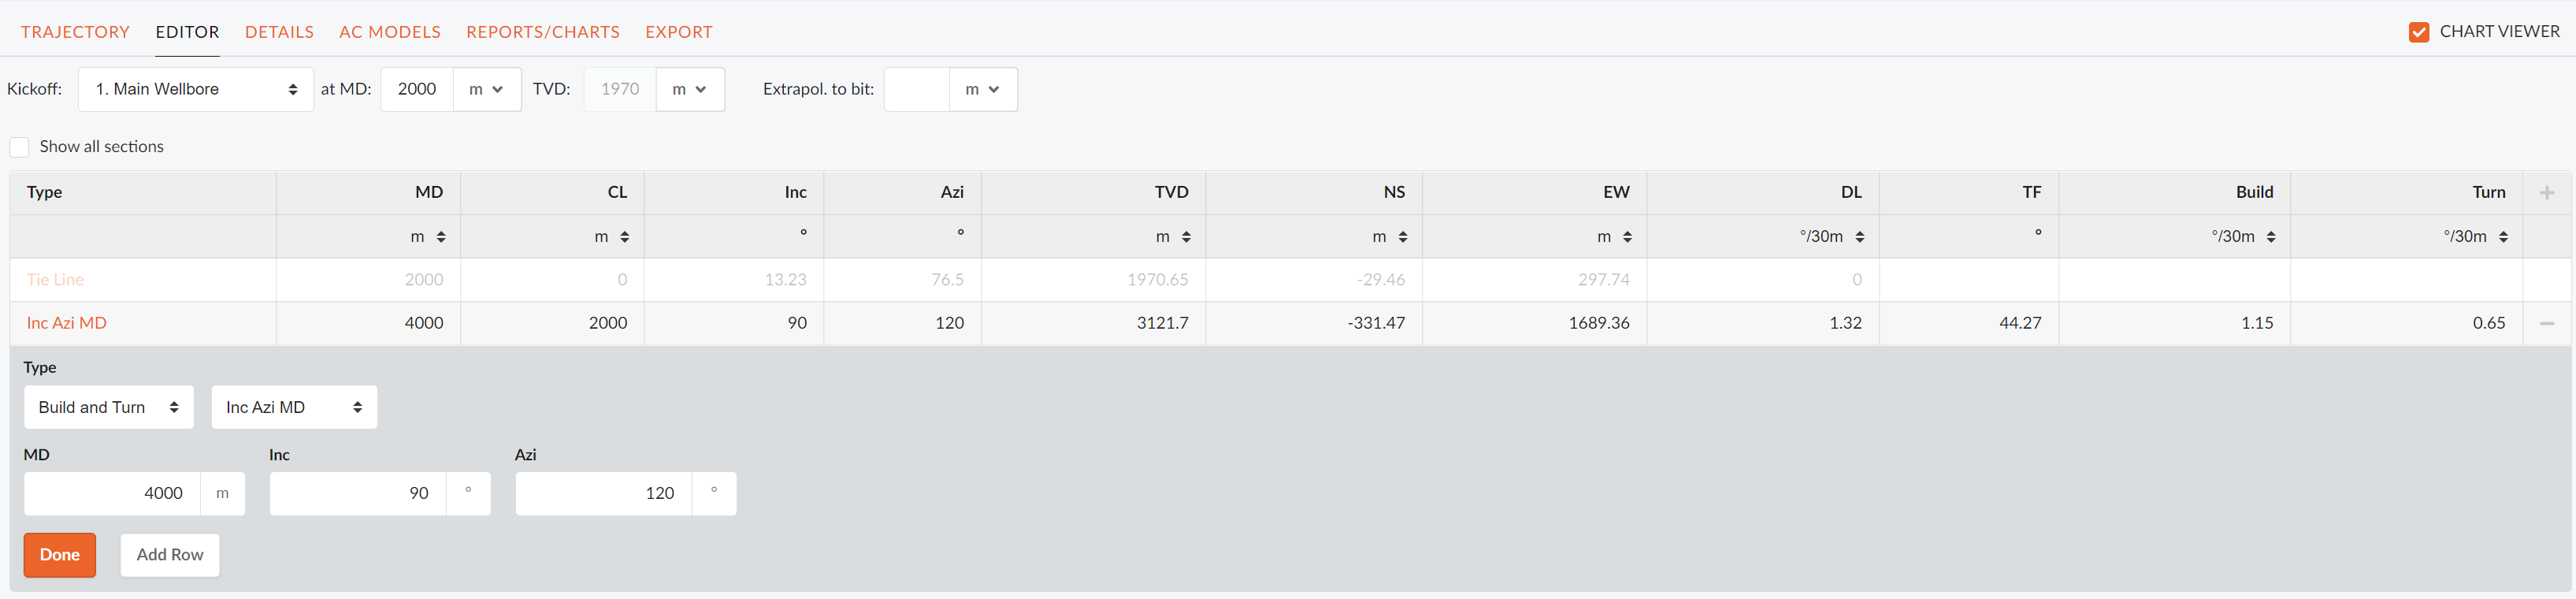
Build/Parametric Well
To design a well simply add new sections by pressing "+" in the top right corner. This will add a row and segment to your Oliasoft WellDesign.
- Choose a build function. (The name of the models indicate the variable input for each model and are described in the section below)
- Fill in the the required input for the chosen model.
- Press done to add segment to your well.
NOTE!
- The models are categorized as build to target functions and simple build functions
- The well trajectory in the 3D viewer will be automatically updated as segments are added
- Define targets (previous section) to see targets in build to target models.
- The 3D view window can be expanded and minimized by dragging the window divider
Kickoff/Sidetrack Well
Add kickoff/sidetrack well from the well list in the left menu and enter the editor menu.
- Choose a reference that you want the well to kick off from in the drop down menu in the top of the table.
- Select a kickoff/sidetrack depth in the MD input field.
- Select the second row and alter this section.
Building Functions/Models
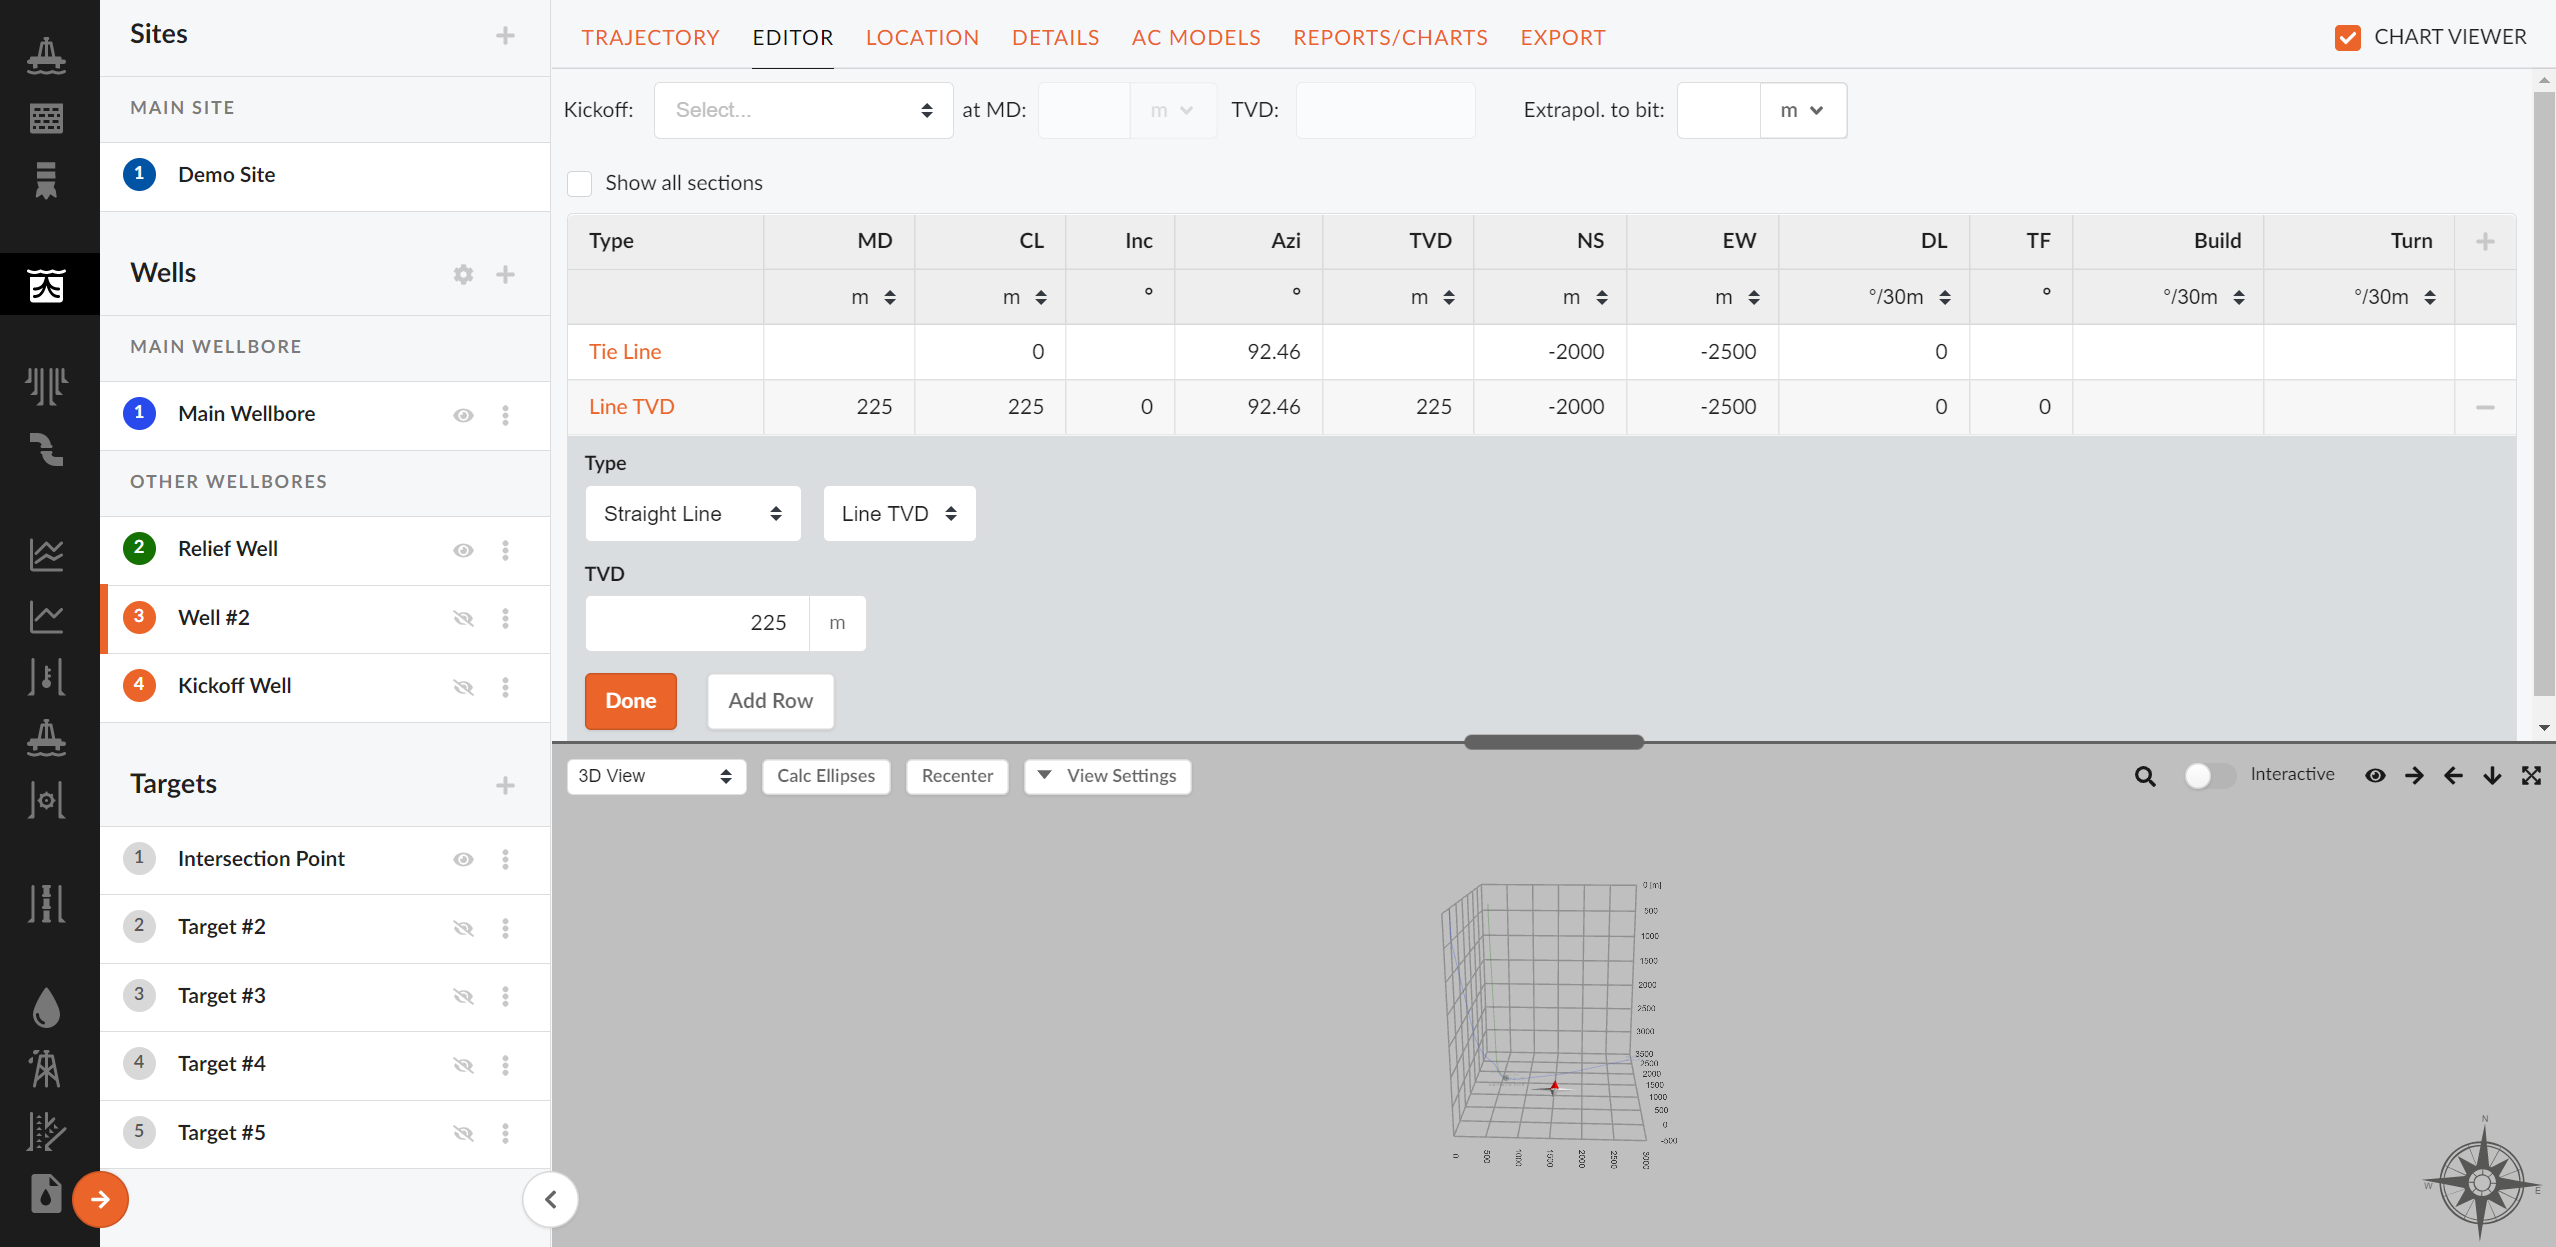
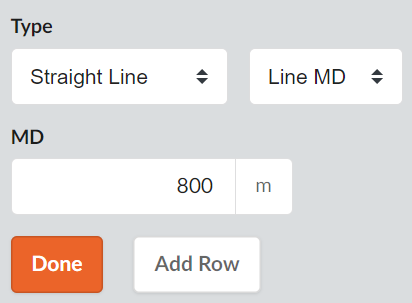
Line MD and Line TVD
These models build a hold section based on measured depth or TVD respectively.
Slant Well
Here you can build a well to a target location. Slant well constructs a vertical section, followed by a build section and then a hold section to target.

In the slant well, you can choose a predetermined target from the target editor, or you can define a target. Use the slide bar to choose between target inputs. Select your desired kick-off depth and build rate. To see the proposed wellbore, remember to update the 3D view plot. Click Add to trajectory to add well.
S-Well
Builds a S-well (vertical, build, hold, drop) to a defined target. This means the S-well lets you input a target similar to a slant well. For this build model, you must input a desired kick-off point, the build and drop rates and max inclination. Make sure to allow sufficient inclination to be able to reach targets that are far away. Click 'Add Row' to add well.

Optimum Align
Optimum align is a function that builds an optimum curve between two points in space based on curve hold curve well trajectory. Optimum align can be chosen with different set of restrictions like dog leg severity, section hold depth etc. The respective curve parameters must be added. One can choose if the want to align to a specific target, and whether they want to penetrate that target or not.

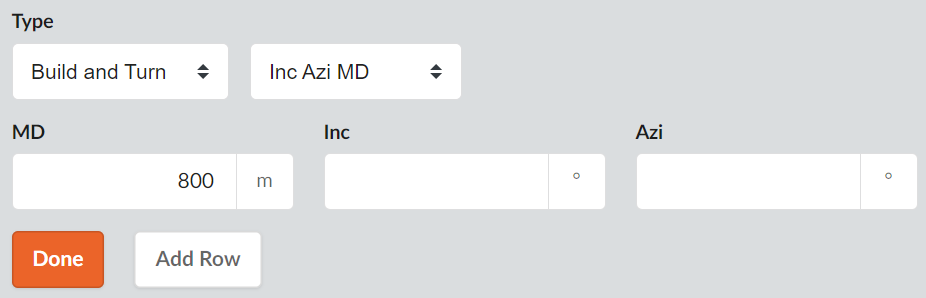
Inc Azi MD/TVD
Build model that lets you construct a build and/or turn section, by inserting inclination and azimuth for the end point. Select desired inclination, azimuth and MD or TVD of the endpoint of this section.
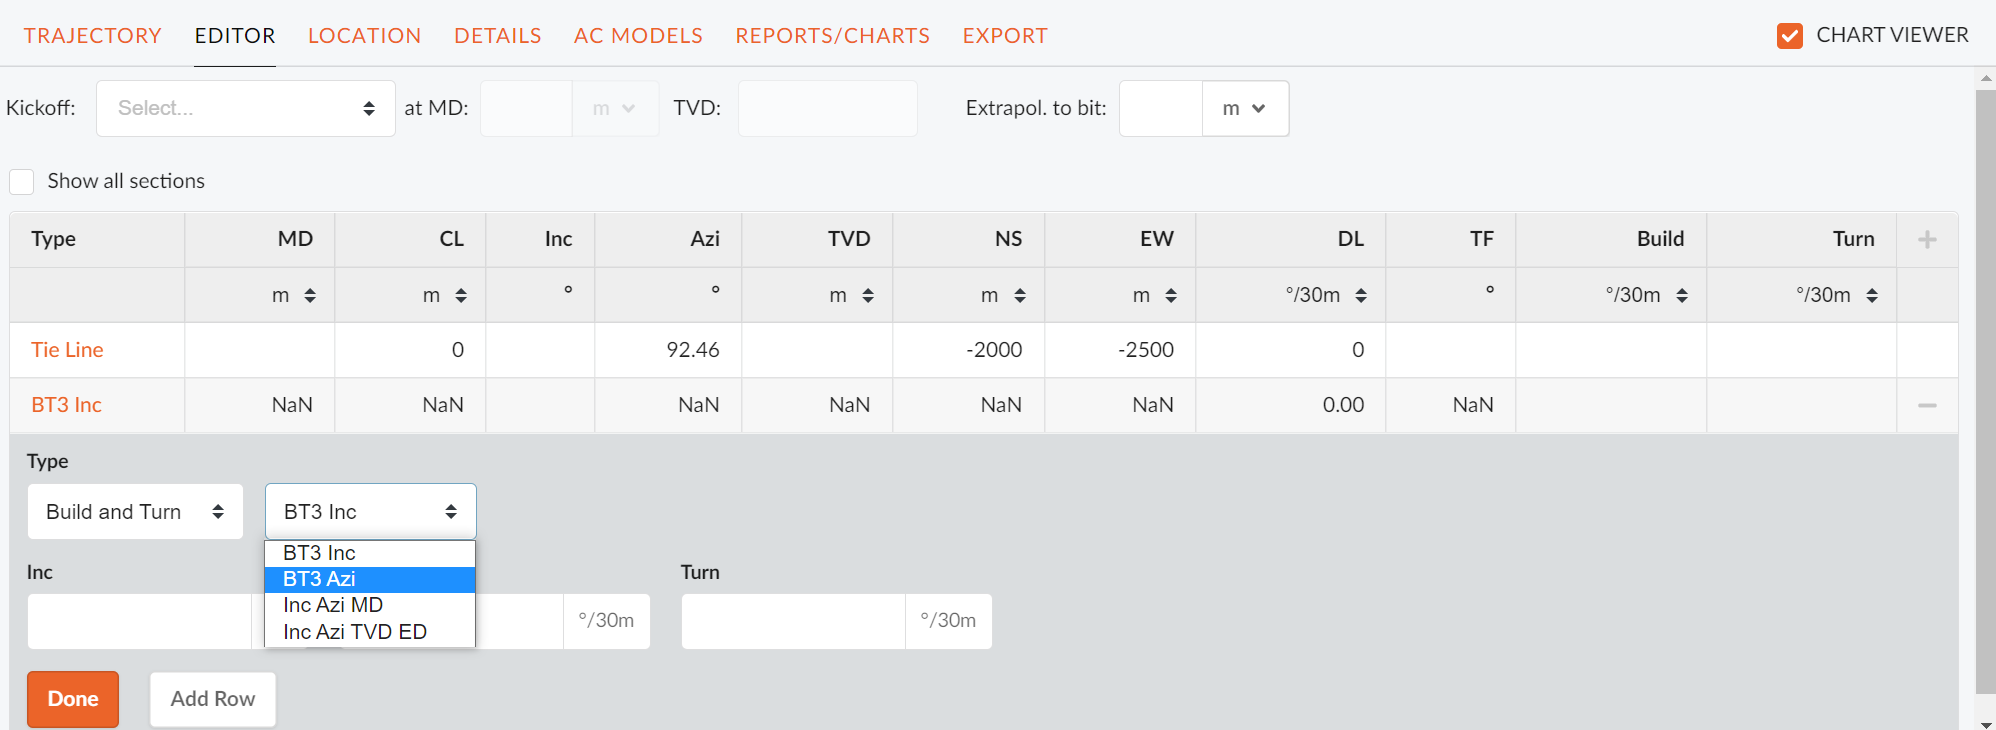
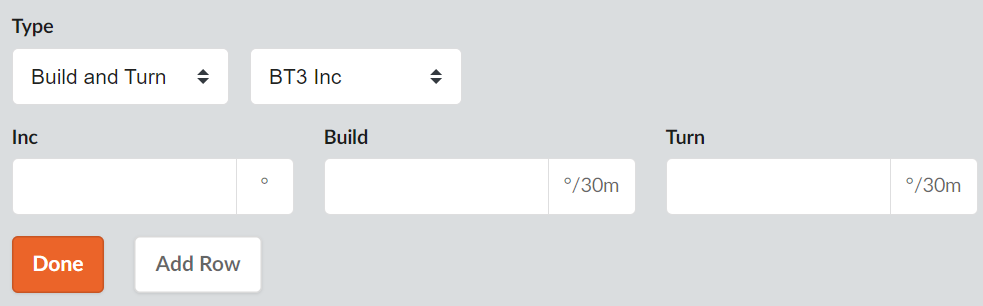
BT3Inc/Azi
A build section, where you specify a final inclination or azimuth and build/turn rate rate. Turn/build rate can also be inputted. Input your desired inclination and build rate. The build rate will define how long the well segment will be. If a turn is desired, input a turn rate.
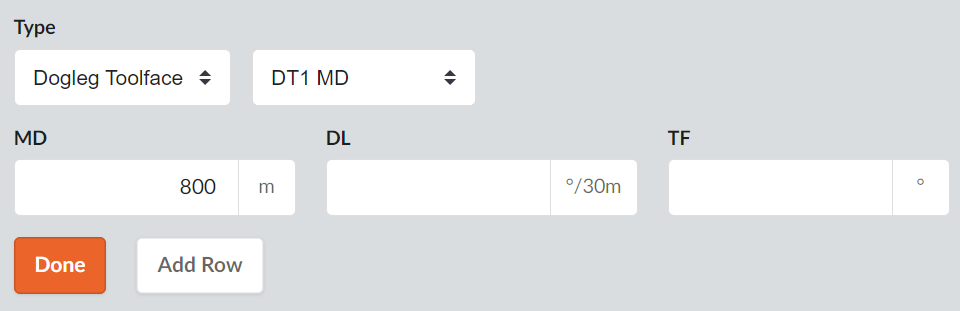
DT1 MD
A dogleg section, where you can input desired measured depth, DL, and toolface orientation.
NOTE!
Remember to continuously save your designs